To change the DNS settings on a Starlink router, follow these steps:
Connect to the Starlink Network.
Open the Starlink app on your smartphone or tablet. If you don’t have the app, you can download it from the App Store (iOS) or Google Play Store (Android).
Log in to your Starlink account.
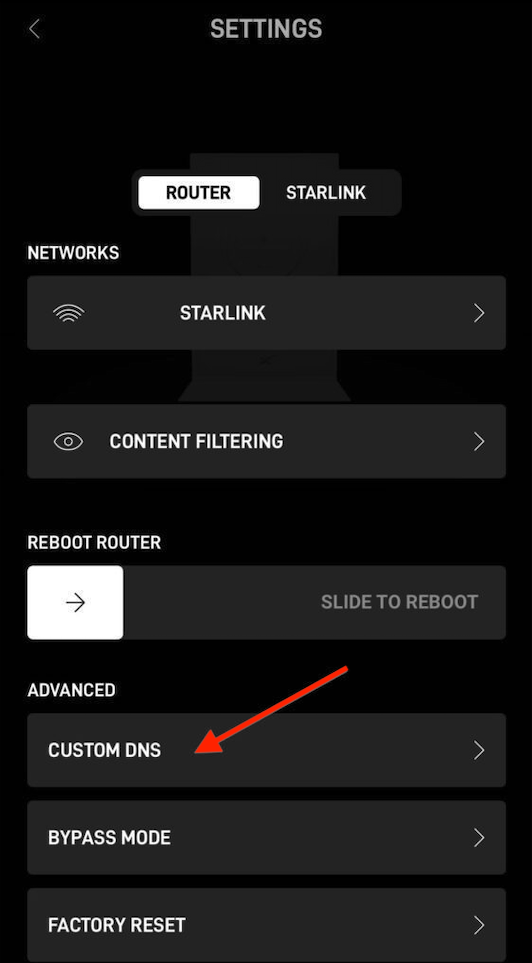
Navigate to SETTINGS > CUSTOM DNS.

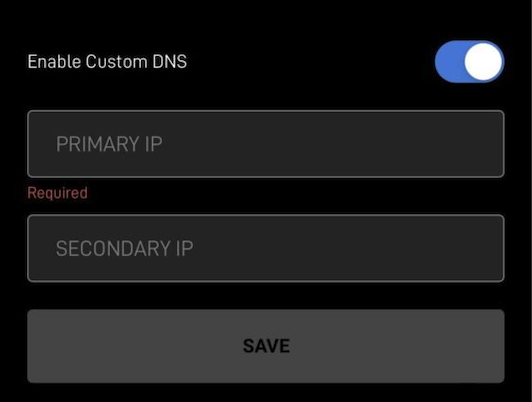
- Toggle "Enable Custom DNS" on and enter addresses 8.8.8.8 and 8.8.4.4

Save Changes.
Please note that settings take 5-7 minutes to apply.
Was this article helpful?
That’s Great!
Thank you for your feedback
Sorry! We couldn't be helpful
Thank you for your feedback
Feedback sent
We appreciate your effort and will try to fix the article